Weston Middle School
Technology/EngineeringCourse Materials
Getting the right coverage:
- Video clips need to be short!
- This being said, remember to keep the camera going a few seconds after the climax, as often the human reactions to events happen then.
- Rehearse
what you will say! One sentence is usually enough. Your tone of voice
should reflect your interest!
- Remember that if the
sound during the shot is noisy, you can delete it and re-record
it in a quieter room. or at a later time.
- Remember that if the
sound during the shot is noisy, you can delete it and re-record
it in a quieter room. or at a later time.
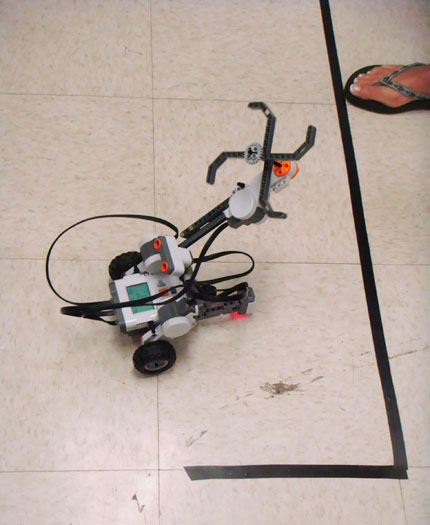
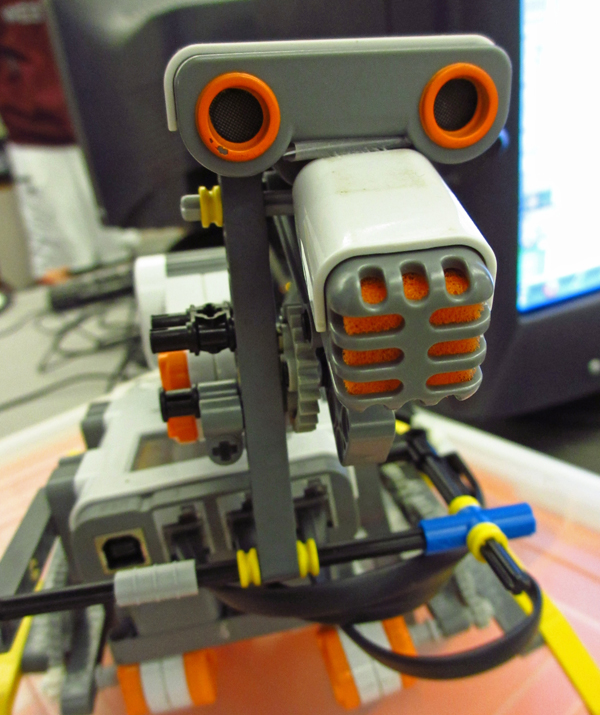
- Keep the camera steady and focused on the robot. Get up close to eliminate distracting background clutter, or use a plain background wall or tabletop.
- Watch the following two videos with the sound off to see examples of this:
- Turn robot around for different views without placing hands in front of it.
You may want to alternatively record the center of interest- either robotic or human- being alternately on the left and right of the frame.
For additional recording tips, see Shooting and Importing Your Video.
Documenting steps in building and programming:
1. Start by showing the drive motors. You might say, "Before we commit to a proposal, we are trying to make sure that_________ works." Or, "We are having problems with getting the legs to work, so, to fix it, we ____________."
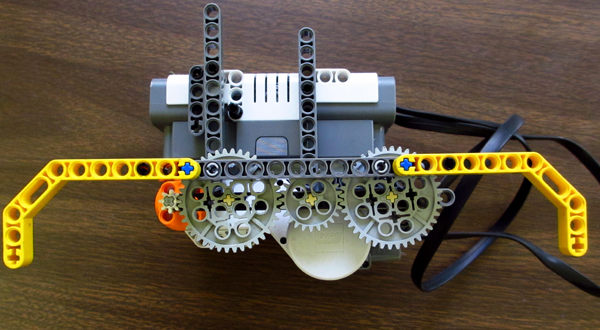
Video a short clip showing how it works. If it doesn't work well enough, video it anyway and show the solution in another clip, and briefly describe it.
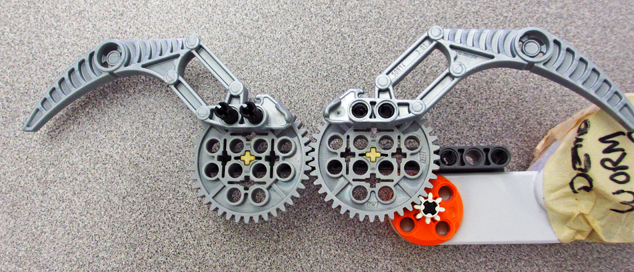
2. Next, show the mechanism( wings, tail, etc.) You might say, "We are now trying to solve how the mechanism works. The other problem is how to mount it on the bot". Again show problems and solutions.
3. Next, start programming. You might say, "What do I want the robot to do?" First, write a sequence of steps that will describe the bot's behavior. Photograph your list because it can be part of your movie. Spot where you are having difficulty. You might want to take a picture of the program as it is being written. Photos can go into I-Movie along with video.
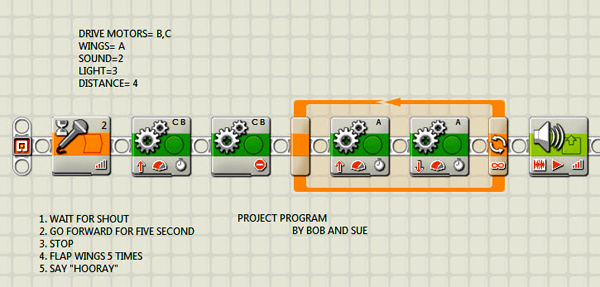
4. Next, attach sensors and describe their purpose. Make sure you can tell ranges, such as distance or sound levels, etc. Show the robot's behavior responding to the sensor input.
Add loops, switches, etc. into the program and take a picture of your final program.
5. Present your project. You might want to say, "As you can see, our creature_________________ (describe it and its behaviors). We are happy with our work ( or not fully satisfied) because______________." Or," If we had more time, we would________."
EDITING YOUR VIDEO IN I-MOVIE
- Name your project
- Drag clips onto the timeline
- Re-arrange order if needed
- Delete unnneccessary clips or sections of clips using Split tool
- Add titles as needed
- In clips, turn off sound if not optimal
- Record voice-overs
- Add Background music
- Choose Theme
- Export project to Camera Roll
- Download completed project to PC
Links
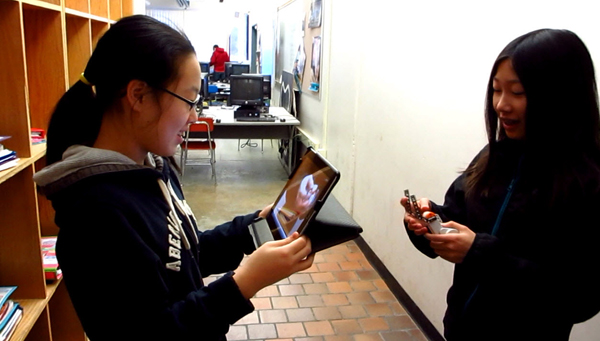
I-pad Journaling- video clip
Tutorials:
Introduction to the I-Movie for Ipad App
I-Movie for IPad Video Tutorial-Details
Nexus7 Advertisement:1 minute Video
Adafruit 6 second Film Festival
At College: